
With just four ingredients and minimal hands-on work time, this small batch crusty bread is the perfect low-effort personal-sized bread-making project. It uses one cup (120 grams) of flour and fits in just about any size Dutch oven, too!
Once you get the hang of this small-batch bread, you'll have no problem challenging yourself with my recipes for small-batch challah and small-batch ciabatta next!

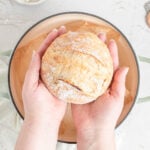
This small crusty loaf bakes up about the size of a large grapefruit and is perfect for slathering with homemade butter or dipping in my best 5-minute olive oil bread dip.
This mini loaf has become a successful favorite of The Practical Kitchen readers of all ages, particularly those who are new to bread making or find it intimidating. Thanks to everyone who has chimed in in the comments with adaptations for using different flours, flavors, etc.!
5 star reader review
“Just made two of these guys this morning and I just want to say thank you so much for this recipe! I’ve never made any kind of bread before because it seemed daunting but with your help it was super easy AND I love the mini recipes for my small household. Also this was so easy and so good, make the cutest baby bread ever, you won’t be sad!”
—Megan
No-Knead Small Batch Crusty Bread
This small-batch crusty bread recipe is a mini version of my full-sized no-knead Dutch oven bread recipe with a few small tweaks. I've written lots more about the science of no-knead breads and crusty breads in that blog post so head over there if you want a lot more detail!
The biggest difference is the hydration of the dough. My full-size recipe is an 80% hydration dough. For this small-batch recipe, I pushed the hydration as high as I could — 83% — while keeping the dough easy to shape and work with. A 3% increase (a mere 4 grams of water!) might not seem like much, but in a loaf this small it does make a significant difference in the size of the final loaf.

This recipe also has a slightly higher ratio of yeast-to-flour than my full-size recipe. Where the larger loaf calls for 2 grams of yeast, this recipe uses just 1 gram. If I shrunk the amount of yeast proportionally, you'd be trying to measure a fraction of a gram, and I didn't want to do that to you. That does mean the dough can be ready to shape a bit sooner, though it still needs the overnight rise.
Want more small-batch recipes?
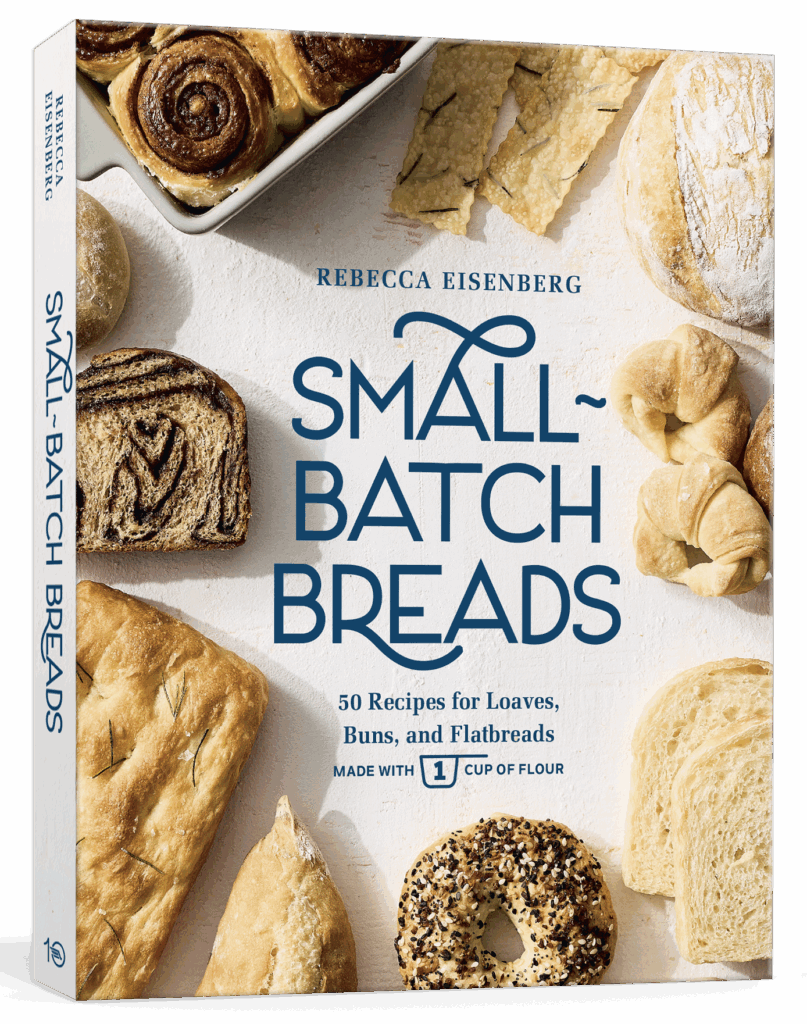
My Small Batch Breads cookbook is now available for pre-order!
Featuring fifty easy-to-follow bread recipes made using 1 cup of flour.

Here are the four ingredients you need to make this small batch crusty bread! See recipe card (at the end of the blog post) for quantities.

I use cool water when making overnight breads because the cooler water allows the yeast to move more slowly. Warm water makes yeast move faster, so the cooler the water is, the longer I have before the dough needs to be shaped. Since I'm not building strength into the dough by kneading, I want the yeast and gluten network to have as much time to work on their own as possible before shaping.
A 5-Minute Bread Dough
Making no-knead bread dough is so fast. All you have to do is mix everything together until you have a messy, shaggy dough. It literally takes five minutes. Then you cover the bowl and let it rise.
No-knead bread relies on time instead of kneading to develop a strong gluten network — the structure that gives bread its shape and texture. The gluten network traps the gas produced by the yeast, creating air bubbles in the dough.
While you can let this dough rise for as long as 18 or even 20 hours before shaping it, or shape it as soon as 8 hours into the rise time, its small size means it's often at its peak and ready to be shaped around the 12 hour mark.

Use Plenty of Flour When Shaping
This dough is relatively easy to handle once you dust the dough and your hands with flour. But if you're not used to working with wet and sticky doughs, it may still be a bit of a challenge the first time you try it, especially if you're new to bread-making.
Dusting it with flour before you take it out of the bowl will prevent it from sticking to the bowl as you tip it onto the counter. Once it's on the counter, dust the top very lightly with flour too — just enough so your hands don't stick to it.


The dough may stick to your hands slightly, but that's okay. Use a light touch as you do the shaping. When all the edges have been tucked in, flip the dough over. You'll have a nice smooth top.
Cup your hands around the dough and gently lift and rotate it in short, quick movements to create surface tension on the top as you tuck the dough underneath. Then transfer the dough onto a crumpled and flattened piece of parchment paper and cover it for its final rise while the Dutch oven finishes preheating.


Don't beat yourself up if handling the dough doesn't come naturally to you — it will become easier with practice. Just remember: this is not meant to be a tightly controlled dough, so even if it's a little lumpy or imperfect or messy, that's absolutely okay.When your dough is ready to shape, dust the top of it in the bowl, then turn it out onto a well-floured counter.
Scoring is decorative and functional (also optional)
Scoring bread creates a vent through which steam can escape during baking. Without scoring, the steam will escape through any weak points it can find in the loaf—it might even blow out at the bottom.
You can even cut designs into your loaf. But you do need at least one big, deep slash.


For Best Results, Bake in a Dutch Oven
The confined space of a pre-heated Dutch oven traps the steam released by the dough as it bakes, creating a nice moist environment which results in a super crunchy crust.
When you first take the lid off, your small batch crusty bread will look quite pale. That's normal. The final 10-minute uncovered bake time is when the top will take on that gorgeous brown color.

Carefully remove the baked loaf from the Dutch oven to a cooling rack. If you listen closely you'll be able to hear the crust cracking as the inside of the loaf contracts as it begins to cool!
Let the small batch crusty bread cool completely before slicing it. If you slice it before it has cooled, the steam still trapped in the bread will turn the starches to mush.
I tested baking this without a Dutch oven on a sheet pan in a 450°F oven with an ice cube on the pan to create steam, and it does work, but the crust isn't quite as nice. The open space of the oven also results in more bread blowouts on the bottom, even when properly scored.

💭 Have More Baking Questions?
I've rounded up answers to common baking questions and how-to guides, including:
- Ingredient swaps and FAQs
- Why my recipes are written in grams and not cups
- How to quickly bring eggs and butter to room temperature
- Ingredients I use (salt, flour, yeast, etc.)
- Step-by-step guides for bread and baking techniques
See my baking techniques & troubleshooting guide and ingredient swaps and FAQs for more!

TL;DR — Recipe Summary
- Mix the flour, salt, and yeast. Add the water and mix into a sticky dough.
- Cover and rise for 12-18 hours at room temperature.
- Turn the dough onto a well floured surface. Dust lightly with flour.
- Tuck the edges of the dough up to form a ball. Flip so the seam side is down. Transfer to a crumpled and flattened sheet of parchment paper.
- Dust the top with flour, cover and rest 30 minutes while the Dutch oven preheats at 450°F.
- Score the top of the dough. Then place the dough in the Dutch oven.
- Bake for 20 minutes covered, then 10-15 minutes uncovered.
- Let cool completely before slicing.
📖 Recipe
Small Batch Crusty Bread (Made with 1 CUP of Flour)
Recipe Notes
- If you are measuring with cups, it is super important that you measure the ingredients properly. See my guide to measuring as accurately as possible by volume for how to do this. If you measure with cups/teaspoons and the recipe did not turn out right, that is likely why. Try again!
- For a longer cold rise: Put this no-knead dough in the fridge immediately after mixing or after the first overnight rise. I've left it for as long as 5 days in the fridge before baking and it works just fine. As a bonus, gluten tightens up in the cold, meaning refrigerated dough is slightly easier to shape.
- For a same-day bake: Increase the yeast to 3 grams and follow the folding instructions from my small batch baguette recipe. Then come back here for the shaping and baking instructions. You'll have a small loaf of crusty bread in just about 3 hours!
- Adding flavors: This is a great base recipe for adding lots of fun spices, herbs, cheese, seeds, and more. If you add anything wet like peppers, raw onions, olives, etc. it will add moisture to the dough. And if you add too many dry ingredients, it also can affect the dough's hydration. I recommend adding no more than 24 grams of additional flavorings/ingredients to this dough.
Ingredients
- 120 grams all-purpose flour (1 cup, aerated and loosely scooped, plus more for dusting)
- 3 grams diamond crystal kosher salt (1 teaspoon, use half as much of any other brand of salt)
- 1 gram instant yeast (heaping ¼ teaspoon)
- 100 grams cool water (¼ cup + 3 Tablespoons)
Instructions
- Mix the flour, salt, and yeast together in a mixing bowl.
- Pour the water into the middle of the dry ingredients and mix until well combined. It will be shaggy and messy. That's okay. Cover the bowl and set it aside at room temp to rest for 12-18 hours (or in the fridge for up to 5 days). You're looking for the dough to double or triple in size with a flat, bubbly top.
- During the final hour of the rise time, preheat oven to 450°F. When the oven reaches temperature, place a Dutch oven inside, covered, and let preheat for 30 minutes at 450°F. Crumple a piece of parchment paper into a ball. Flatten it out, then crumple and flatten it out again.
- While Dutch oven preheats, generously flour a clean countertop. Release the dough from the sides of the bowl and onto the counter. Dust the top lightly with flour, just enough so your hands don't stick.
- Gently stretch the dough into a loose square. Dust any excess flour off the top. Fold the corners of the dough up and across itself to pull it into a round shape with the edges pinched together on top. Flip the loaf over so the seam side is underneath. Cup your hands around it and lightly lift and rotate the ball of dough against the counter, tucking the dough underneath itself as you go to create surface tension on top.
- Use the bench scraper to lift the ball of dough onto the flattened piece of crumpled parchment paper. Dust the surface of the dough lightly with flour, cover it with a clean dish towel, and let it sit until the Dutch oven finishes preheating.
- Carefully remove the Dutch oven from the oven. Take the lid off and set it aside. Score the top of the loaf to create a vent for steam to escape. Gather the corners of the parchment paper together, pick the dough up and place it inside the Dutch oven. Put the lid back on the Dutch oven.
- Bake with the lid on for 20 minutes (don't peek!), then remove the lid and bake another 10 minutes until deeply golden brown on top. You're looking for an internal temperature of at least 200°F for doneness.
- Transfer the fully baked loaf to a cooling rack and let cool completely before slicing.
Anne Black says
I just took the mini loaf out of the oven & it's beautiful.....house smells so good. Super easy recipe. I can't wait for it to cool so we can try it. Thank you for providing such great instructions.
Norm says
Wow, I use recipes for most of my cooking and this is a no fail delight.
Thanks!
Susan Forslund says
Awesome everyday recipe for two.
Rebecca Eisenberg says
I’m so glad you like it!
Emma Young says
I can't wait to bake this little loaf 🙂 I was curious if you had ever converted this recipe to use a poolish? Thanks!
Rebecca Eisenberg says
I have not! You can definitely give it a try though. Let me know how it turns out!
Emma Young says
Challenge accepted 🙂
Kim says
I needed a small loaf of bread and this is perfect! It is so low effort and so easy. The loaf turned out perfectly, and I’ll definitely be using this recipe again!