
This high-hydration deli-style rye bread is soft, chewy, and full of that classic caraway flavor. Made with a blend of rye flour and bread flour, it has a moist, slightly airy crumb and a lovely thin crust with just the right amount of crispness. A simple caraway seed tea infuses the loaf with the tangy, earthy flavor you expect from a seeded deli rye bread. Baking it in a loaf pan ensures a perfect, sandwich-ready shape every time.

Like all my homemade bread recipes this is a beginner-friendly recipe that you don't need a lot of special equipment to make. You do need a kitchen scale, but you don't need a mixer, and you can make this in the span of a few hours on a lazy afternoon.
Even if you've never made bread before, with this easy rye bread recipe you'll have fresh homemade rye bread coming out of the oven before you know it!
5-STAR READER REVIEW
“I have been looking for fifty years (no kidding) for a rye bread recipe that is soft and not so heavy. This is it!! I used it to make Reubens tonight. So delicious!! This recipe deserves more than 5 stars.”
—Karen S.
When I first started working on this seeded rye bread, I approached it like I did my soft white sandwich bread recipe — I dumped all the ingredients in a bowl, kneaded vigorously with my stand mixer, and plopped it into a loaf pan. Using that method, however, produced a dough that was so sticky and hard to handle. Loaf after loaf baked up dry and dense. It wasn't pleasant.
So I took a step back and began testing a different, more gentle approach to handling the rye dough. Out went the mixer and the vigorous kneading. In went a little more patience and a few sets of gentle folds.
The end result was a vast improvement; an airy and easy-to-handle dough that consistently baked up into a gorgeous rye sandwich bread. It was soft and chewy with a moist, slightly open crumb that toasted beautifully. Yes, it's a little bit of a longer process, but since it's mostly hands-off resting time, I really do think the extra time is so worth it for the end result.


After many rounds of testing, the final version of my seeded deli rye bread uses a blend of 25% rye flour and 75% bread flour. Rye flour on its own has a low protein content and is notoriously bad at developing a strong gluten network for shaping, so blending it with a high-gluten flour like bread flour provides the necessary strength and structure for this rye bread to hold its shape.
I use King Arthur Baking Company's medium rye flour, which has an 8% protein content and their high-gluten bread flour, which has a protein content of 12.7%.
Because rye flour is tremendously absorbent, this dough clocks in at a whopping 95% hydration! While most doughs with that much water in them are super sticky, loose, and hard to handle, the rye and bread flours do such a good job absorbing the water that this rye bread dough ends up being really lovely to work with.
Want this recipe, only smaller?
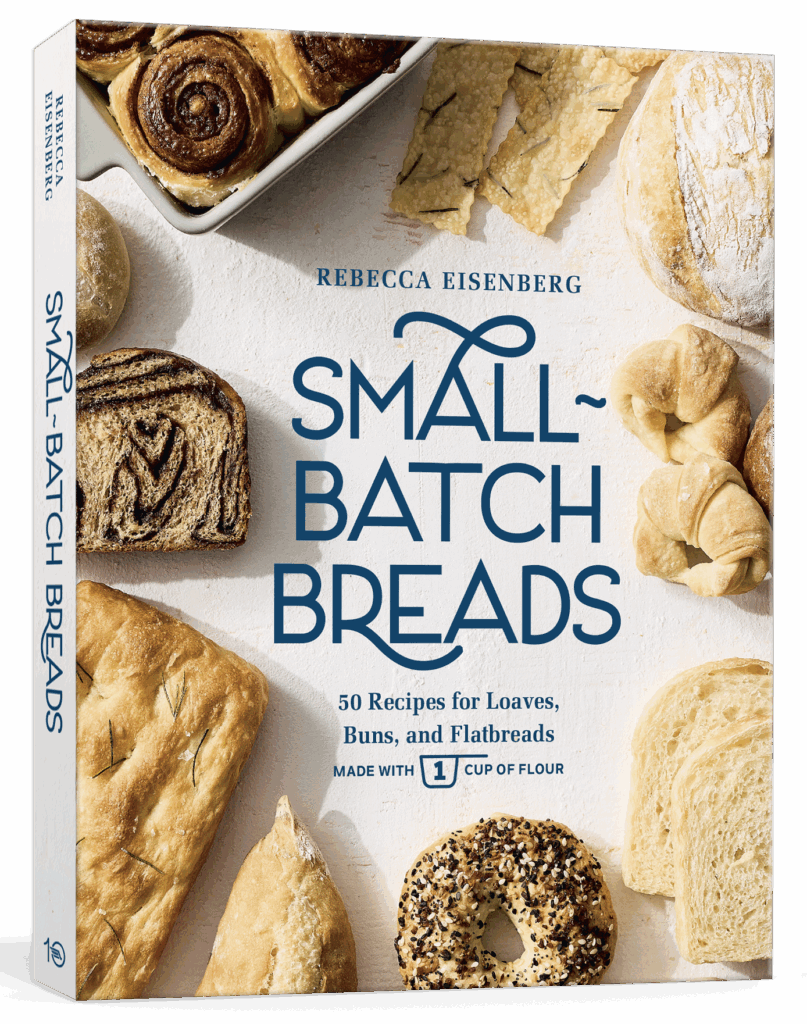
Find it in my Small-Batch Breads cookbook, available for pre-order now!
Featuring fifty easy-to-follow bread recipes made using 1 cup of flour.
Instructions: How to Make Deli-Style Rye Bread
I know caraway seeds can be a bit divisive. My husband hates them (that's okay, more rye bread for me), but when I think of a deli-style rye bread, the flavor that comes to mind really is the caraway seeds. Including caraway seeds in this recipe was a non-negotiable.
Just like in my easy rye bagel recipe, the first step of my rye bread recipe uses one of the most useful techniques I learned in pastry school for adding flavor to dough: making a caraway seed tea. Letting the caraway seeds steep in hot (but not boiling) water for just 10 minutes softens them, and using that water in the dough infuses the bread more evenly with caraway flavor.

When the caraway tea is finished steeping, it's time for the autolyse step, which sounds fancy, but is really quite simple.
Because rye flour is super absorbent but not great at forming a strong gluten network, giving it even just 10 minutes to autolyse after being combined with the water gives it lots of time to fully hydrate. This 10-minute resting period makes a big difference in your final rye loaf — it will be much softer and chewier because of the autolyse!

While the dough is autolysing, I combine the remaining liquid ingredients with the yeast in another small bowl to give the yeast a head start to begin activating. It also helps the sugars in the honey begin dissolving to incorporate evenly.
Here's what the yeast mixture will look like before and after:


To finish mixing the dough, first, I sprinkle the salt over the surface of the dough. Then I pour the yeast mixture over the salt.


Squish, squeeze, pinch, and fold the dough over itself until you don't feel any grains of salt and all of the liquid has incorporated into the dough. The dough will be very wet and sloppy.
Resting and Folding (Bulk Fermentation)
After the dough has been mixed, I let it rest for two hours (this is called "bulk fermentation"). During this two-hour window, I periodically build strength and structure into the dough using a technique called folding.
There are a few different folding techniques, but for this dough you'll be doing a stretch and fold. The folding process criss-crosses the gluten network over itself to build structure and strengthen the dough, trapping air inside.
The two-hour timer starts immediately after you finish mixing the dough. The first set of folds is counted 30 minutes into that resting period. So the dough will rest for 30 minutes, and then you'll do the first set of stretch and folds.


You'll be able to feel the dough getting stronger with each set of folds. On the first set, the dough might tear a little; that's fine. By the last set of folds, the dough will feel very strong and elastic.
By the end of the two-hour bulk fermentation window, the dough will have almost doubled in size and will be quite airy.

USA Pan Bakeware Aluminized Steel Loaf Pan, 1.25 Pound
Dimensions: 9 x 5 x 2.75. Durable construction with corrugated surface for optimal airflow. Non-stick finish is PTFE, PFOA and BPA free.
Shaping Rye Sandwich Bread
To shape my rye bread into a sandwich loaf, I work on a lightly floured surface.

See the gluten network?

Deflate and gently tug into a loose square shape.

Fold the right third of the dough across the middle third of the dough.

Then fold the left side across the middle. Use your fingertips to seal the edge.

Roll the dough into a fat coiled log of dough.

Place the log in a greased loaf pan. It won't fill the length of the pan (yet).
Cover the pan loosely (I like using these elastic, plastic bowl covers) and let the rye loaf rise until it fills out the length of the pan. Use the fingerprint test to determine if your rye bread is ready to bake.


Immediately before baking, use a lame or a sharp knife to score several diagonal slashes across the top of the bread about ¼" deep. The dough is sticky and even with a clean, new lame blade I found there was some catching and tearing on the dough. It'll be fine, I promise!

Letting the rye bread cool on the rack is super important for air flow. If you leave it to cool in the pan, the steam escaping from the loaf will make it soggy. Let it cool on a rack so the steam can escape, and you'll have a nice crust!
💭 Have More Baking Questions?
I've rounded up answers to common baking questions and how-to guides, including:
- Ingredient swaps and FAQs
- Why my recipes are written in grams and not cups
- How to quickly bring eggs and butter to room temperature
- Ingredients I use (salt, flour, yeast, etc.)
- Step-by-step guides for bread and baking techniques
See my baking techniques & troubleshooting guide and ingredient swaps and FAQs for more!
📖 Recipe

Fresh Deli-Style Rye Bread Loaf (with Caraway Seeds)
Recipe Notes
- If you want the flavor of caraway but don't want the seeds, use a strainer to remove the seeds from the tea when you add it to the flours to autolyse.
- Set a 2 hour timer and a 30 minute timer at the start of bulk fermentation. Reset the 30 minute timer until there's only 30 minutes left on the 2 hour timer. When the 2 hour timer goes off, it's time to shape the bread.
- This soft deli rye sandwich bread is best eaten within the first 4-5 days after baking, though you can store it in an airtight bag or bread bag at room temperature for up to a week. I usually store it in a large resealable plastic bag with as much air pressed out as possible.
- Do not refrigerate bread; the cold temperature will make it go stale even faster.
- You can freeze the whole loaf, defrost it at room temperature, then pop it in a 325°F oven for 20-30 minutes. You can also slice the loaf and place the slices in a plastic bag with as much air pressed out as possible and freeze it that way. Simply break off a slice of frozen sandwich bread, pop it in a toaster oven, and it'll be ready to eat.
Ingredients
Caraway Seed Tea
- 355 grams hot water (160°F)
- 33 grams caraway seeds
Autolyse
- 300 grams bread flour
- 100 grams King Arthur Baking Organic Rye Flour
- All of the caraway seed tea (from step 1)
Yeast Mixture + Salt
- 25 grams warm water (100°F)
- 13 grams extra virgin olive oil
- 13 grams honey
- 6 grams yeast
- 10 grams diamond crystal kosher salt
Instructions
- Make the caraway tea. Heat water in an electric kettle or on the stove until it reaches a low simmer (160°F). Pour the 355 grams of water over the caraway seeds and let steep for 10 minutes.
- Autolyse. In a large mixing bowl, combine bread flour, rye flour, and all of the caraway seed tea. Mix until a sticky, messy dough forms. Cover and let rest for 10 minutes.
- Bloom the yeast. In a small bowl, mix together 25 grams warm water, yeast, olive oil, and honey. Mix to combine. Set aside until the dough is done autolysing, at least 5 minutes. The mixture will become quite foamy and bubbly.
- Add salt and mix. Sprinkle the salt over the surface of the dough, followed by the yeast mixture. Use your hand to squish and pinch the dough between your fingers until you no longer feel the grit from the salt and the liquids have incorporated into the dough. It will be quite wet, sticky, and messy. Gather the dough into a loose ball in the bottom of the bowl.
- Bulk ferment. Let the dough rise, covered, for a total of 2 hours, with a set of stretch-and-folds every 30 minutes, a total of 3 sets of folds. The first set of folds is counted after the first 30-minute rest.
- Shape. Dust the top of the dough in the bowl with flour, then turn it out onto a lightly floured work surface. Gently deflate the dough with your fingertips, tugging it into a loose square shape. Fold the right third of the dough in across the middle and gently press down along the edge to seal. Fold the left third of the dough in, overlapping just slightly with the first folded flap of dough. Again, press down along the edge to seal. You should now have a narrow vertical rectangle of dough (about 5" wide). Starting from the top, roll the dough toward your body until the seam is tucked neatly underneath. You will have a thick coiled loaf of dough. Cup your hands behind the dough and gently pull it toward your body to tighten it up.
- Final rise. Transfer the dough to a greased 9x5" loaf pan. It will likely already be crowning over the top rim of the pan but will not fill the length. Cover and let the dough rise for 45-60 minutes, until the dough has filled out the length of the pan.
- Preheat. Toward the end of the rise time, preheat the oven to 400°F.
- Score and bake. Immediately before baking, slash the top of the loaf 4-6 times diagonally with a lame or sharp knife. Bake for 40-45 minutes or until an internal temperature of at least 200°F is reached.
- Cool. Let cool in the pan for about 5 minutes, then turn out onto a cooling rack and let cool completely before slicing.
Jerry says
Quick question for you? The total bulk rise is 2 hours with the 3 folds starting after a half hour of rest. With that timing would you do the last fold and shape at the same time at 2 hours? Or is their a half hour between again? I’m excited to try the recipe!
Thank you,
Rebecca Eisenberg says
Great question! You do the shaping at the end of the two hours, which is 30 minutes after the third and final set of folds! Hope this helps. Happy baking!
Trish says
This is a great recipe and came out soo good!
I was wondering - could I put this in the fridge overnight and bake in the AM?
Ty!
Rebecca Eisenberg says
I’m so glad you liked it! I think that would work but to decrease the chance of overproofing I would let the caraway seed tea fully cool before using it in the dough and reduce the amount of yeast by half! Good luck!
Katay says
After looking at many recipes to use up my rye flour I came upon this one. This recipe stood out because I liked the idea of making a tea with the caraway seeds. Well, the bread came out delicious! I am surprised how tasty it is. I followed the directions closely. Since I did not have any honey I did use molasses in its place. The texture is really nice. Thank you for a wonderful recipe. Looking forward to others.
Rose Petersen says
This is an absolutely fascinating and fun bread to make. I have never in my life weighed water! No one I know has weighed water. We are North Americans (Canada) what fun. It was truly sticky. But I followed directions exactly (even weighing water and all the other ingredients! And I watched the video several times for the technique of the folds. My goodness is it a delicious bread! I would make no changes, perfect for anyone who loves caraway rye. I think the steeped seeds is the real trick of making it so fantastic, thank you .
Heather Slater says
Can this be made into 2 loaves or would I have to double all of the ingredients for 2 loaves?
Rebecca Eisenberg says
If you want two sandwich bread-sized loaves, you'll want to double all of the ingredients!
Sara says
I haven't yet made this, but look forward to doing so. I like using pickle juice in rye bread recipes and wonder if substituting it for some of the water in the caraway tea would work. If so, how much would you recommend so as not to inhibit rising with the added acidic ingredient?
Rebecca Eisenberg says
It's hard to say since I haven't personally tried it but I did experiment recently with using olive brine in my no-knead bread. I would be cautious of the acid but also the salt content of the pickle juice. I think you'll have to do a little experimenting on your own but if I was trying this I think I'd start with replacing half the water in the recipe with the pickle juice and reducing the salt in the recipe by half. Once you give it a try that way you can scale up or down the amount of salt and pickle brine to find your perfect ratio! Hope this helps. Happy baking!
Sara says
I made this bread yesterday and it's marvelous!!! The only problem I had was that scoring significantly deflated the loaf like a balloon resulting in a much smaller size than if I hadn't scored it. Next time, I'll skip the scoring.
I live in the southern U.S. so am accustomed to measuring ingredients rather than weighing them. I did find the process to be time-consuming and tedious but the result was worth it. I tried converting the recipe ingredients from metric to imperial (used in the U.S.), but it didn't work as the measurements were too far off to be reliable.
Jean says
My first, but definitely not last, rye bread. My NY raised husband agrees that it is delicious. Thank you Rebecca for another winner.
Kim K says
Thank you for this sandwich rye loaf bread recipe!!! I have been making it regularly and keep the sliced bread in the freezer. It is easy, amazing texture and taste and of course the caraway tea is a big "duh" moment for me!!! I now use the tea process to infuse bread with rosemary too. I am sure there are other applications.
Thanks again for this wonderful recipe!!
Emma Young says
Can I substitute ground caraway for the seeds? And if so, what amount would be good? Thanks!