

This small batch recipe for oatmeal chocolate revel bars is a scaled-down version of my popular full size chewy chocolate revel bars recipe, which was inspired by an old family favorite dessert bars recipe. The full size recipe makes so many bars that I wanted to do a scaled down version for those of you who aren't trying to feed a small army.

Because chocolate revel bars are so popular, but the full-size sheet pan recipe makes over 60 bars, it was an obvious choice to make a small batch version for those of you who are baking for a smaller get-together or who don't have room to stash the extras in your freezer.
Just like my other popular small batch recipes, this cookie and fudge bars recipe is scaled down to use 1 cup of flour for the cookie dough.
I've provided a few different options for pan shapes and sizes for baking these cookie and fudge bars in the blog post below. Depending on what pan you choose, my small-batch revel bars recipe can make anywhere from 20-40 bars. So, you know, it's small batch, but it's still giving you plenty of bars to work with!

A Note on Different Pan Sizes for Small Batch Revel Bars
I've tested this small batch recipe in a few different pan shapes and sizes for you so you can make it work with whatever you've got around. That said, it does work best in a metal pan — not glass or stoneware — to get the nice crisp bottom!

For the photos in this blog post I used an eighth sheet pan (7x10") which is the smallest possible size pan I'd recommend for small batch revel bars. I got about 24 diamond-shaped bars from an eighth sheet pan.
You can also use a quarter sheet pan, a round fluted tart pan, or 8" square or round cake pans to make these small batch oatmeal fudge bars — they can make anywhere from to 20-40 bars, depending on how you cut them.
The baking time will remain the same regardless of which of these pans you use. These oatmeal fudge revel bars are fairly thin, so they all need about the same time in the oven for the cookie dough to bake through and get crisp on the bottom.


Here are the ingredients you'll need to make these small batch oatmeal fudge bar cookies!

Just a reminder that you must use Quick Cooking Rolled Oats for this recipe. If the front of the oats package doesn't say both QUICK COOKING *and* ROLLED oats, check the ingredients list, it will say "rolled oats." Buying the wrong type of oats is the number one mistake people make with revel bars; make sure you get the right ones!
One of the trickiest bits of scaling down this recipe was making sure you didn't end up with leftover sweetened condensed milk, which usually comes in 14 oz cans. I've recently found resealable pouches of sweetened condensed milk at the store which are great for this small-batch revel bars recipe. Reminder: Sweetened condensed milk is not the same thing as evaporated milk! Make sure you're using the right thing.
How to Make Small Batch Revel Bars
I like to use an electric hand mixer to make this dough since my stand mixer is just a bit too big for a dough this small. If you have a smaller stand mixer (like a 4.5-5qt mixer), you'll be fine using your stand mixer.


Assembling Small Batch Revel Bars
I usually bake this small-batch cookie bar recipe in an eighth or quarter sheet pan. I grease the bottom of the pan well to help the dough release after baking.


If I'm using a round fluted tart pan or want a tart-like crust around the edges of my revel bars, I press some of the dough up the sides of the pan to make a visible crust. The dough will expand slightly as it bakes, so I try to keep that edge fairly thin.

💭 Have More Baking Questions?
I've rounded up answers to common baking questions and how-to guides, including:
- Ingredient swaps and FAQs
- Why my recipes are written in grams and not cups
- How to quickly bring eggs and butter to room temperature
- Ingredients I use (salt, flour, yeast, etc.)
- Step-by-step guides for bread and baking techniques
See my baking techniques & troubleshooting guide and ingredient swaps and FAQs for more!
Want more small-batch recipes?
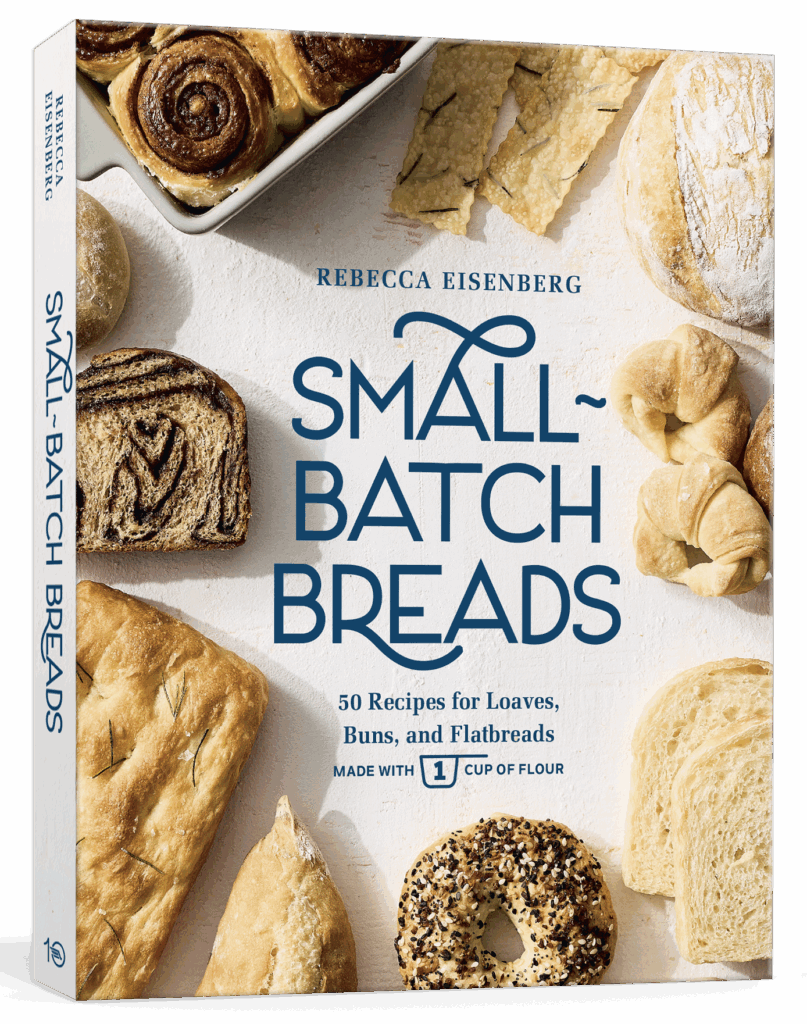
My Small-Batch Breads cookbook is now available!
Featuring fifty easy-to-follow bread recipes made using 1 cup of flour.
📖 Recipe
Small Batch Chocolate Revel Bars
Recipe Notes
- If you are measuring with cups, it is super important that you measure the ingredients properly. See my guide to measuring as accurately as possible by volume for how to do this. If you measure with cups/teaspoons and the recipe did not turn out right, that is likely why. Try again!
- Regardless of what size pan you use — an eighth sheet pan, quarter sheet pan, 8" square or round cake pan, or fluted tart pan, the baking time will remain the same.
- Use a sharp knife, and run it under very hot water (and dry it off) before slicing. The fudge gets sticky as it cools and a hot knife makes it easier to cut. You may need to wipe your knife off with a hot towel or under hot water a few times while cutting. Sometimes a serrated knife works better, but it's really up to you!
- If the fudge cools at all before you need to pour it, return it to low heat and stir until it is melty and loose again.
- If you accidentally bought old fashioned oats, pulse them in a food processor or blender several times before using and let the cookie dough sit for at least an hour or overnight before assembling your revel bars to give the tough oats time to soften.
- To freeze, cut the revel bars apart and place them in a large airtight bag or container. Be gentle putting them in so they don't break or squish into each other. If you're worried about them sticking together as they freeze, you can arrange them on sheet pans in the freezer with space between each bar for about an hour, then transfer the bars to a bag or container once they're less sticky.
- Can you use dairy-free sweetened condensed milk in this small batch bar recipe? I don't recommend it. When you use sweetened condensed coconut milk, the fudge filling will collapse and flatten out rather than staying risen and filling in the gaps between the oatmeal mounds on top once it cools. I've heard from people who've tried this swap who say the bars still taste great and they still love them, but if you don't need to make the swap, I recommend sticking with the recipe as written!
- What to do if you only have old fashioned oats — To use traditional rolled oats, you'll need to pulse them several times in a food processor to break down the tough outer shell. In addition, you'll want to let the cookie dough sit for at least 2 hours or overnight before assembling your revel bars — this gives the oats time to absorb enough moisture from the dough so that they're chewy and not tough!
Ingredients
oatmeal cookie mixture
- 90 grams unsalted butter
- 120 grams brown sugar
- 1 large egg
- ¼ teaspoon vanilla
- 120 grams quick-cooking rolled oats
- 120 grams all-purpose flour
- ¼ teaspoon baking soda
- ⅛ teaspoon cinnamon (optional)
- ⅛ teaspoon diamond crystal kosher salt (use half as much of any other type of salt)
chocolate fudge
- 140 grams sweetened condensed milk
- 120 grams semi-sweet chocolate chips
- 9 grams unsalted butter
- 1 pinch diamond crystal kosher salt (use half as much of any other brand)
- 50 grams chopped walnuts
- ½ teaspoon vanilla bean paste (or vanilla extract)
Instructions
- Preheat oven to 350°F degrees. Combine dry ingredients (except brown sugar) in a large bowl. Set aside.
- Cream softened butter using the paddle attachment on your mixer approximately 30-60 seconds on medium speed until light and fluffy. Scrape down the bowl, add brown sugar and beat on medium speed for 5 minutes, pausing to scrape down the bowl several times, until light and fluffy.
- Add egg and vanilla together. Beat for 60 seconds on medium speed until smooth and glossy, scraping down the bowl after the egg has fully incorporated.
- With the mixer on low speed, add the dry ingredients 1 cup at a time. Scrape down the bowl as needed. Stop the mixer as soon as no dry streaks of flour remain in the bowl.
- Make fudge filling. In a small, heavy-bottomed saucepan over medium-low heat, stir together sweetened condensed milk, chocolate chips, salt, and butter. Continue stirring until no lumps left and remain and the chocolate is shiny and smooth. Adjust burner as needed, stirring frequently to prevent chocolate from burning. Turn off the heat, stir in walnuts and vanilla.
- Lightly grease a sheet pan with non-stick spray or a paper towel with a bit of cooking oil on it.
- Use your hands to firmly press about ⅔ of the oatmeal mixture into a very thin even layer at the bottom of the pan, making sure to get into all four corners. Use a small offset spatula to prevent a lip from forming at the edges of the pan.
- Pour fudge mixture across the surface of the oatmeal layer in the pan, using a spatula to gently push it into all the corners right to the edge of the sheet pan.
- Use your hands to tear, crumble, and pinch the remaining oatmeal cookie dough, dropping it in chunks across the chocolate fudge. Try to get some variety in size between chunks.
- Bake in 350°F oven for 25-30 minutes until lightly golden brown on top. The chocolate fudge will have bubbled up slightly, rising to the lip of the sheet pan.
- Let the tray cool completely before cutting into diamonds. To get the diamond shape: cut 7 straight lines lengthwise down the sheet tray about 1½" apart, then cut across those lines in a diagonal, starting with a corner-to-corner cut to make it easier to replicate the correct angle as you make the rest of your cuts. The diagonal cuts should be about 1½-2″ apart.
- The bars can be a bit tricky and stubborn to remove from the pan. I recommend starting with the odd-shaped edge pieces and then working your way toward the center.
Becky D says
Can we try lining the baking sheet with aluminum foil and then removing from the pan when done to do the cutting?
Rebecca Eisenberg says
It's a good thought but unfortunately, I've tried various methods of lining the pan (foil, parchment paper, etc) and have found they all just peel up/stick to the bars when you try to cut them. It also makes it hard to press the cookie dough into the pan because when you pull your hand up it often pulls the foil or paper with you. That said, you can certainly give it a try, you may have more luck than I did!
Elizabeth says
First time I tried these I put the vanilla in the dough, used pecans, and had milk that was Dulce du leche in the can and they were great. Second time I managed to follow the recipe, use walnuts and have pourable milk. Pecans are fine but walnut texture is superior in these. Both versions were a hit! Definitely going to be on the regular rotation!!
Rebecca Eisenberg says
This truly is such a forgiving recipe! I'm so glad you enjoyed it and thanks for sharing your experience with some alternative ingredients 🙂
LM says
How much vanilla is needed in the oat mixture?…
Rebecca Eisenberg says
1/4 teaspoon! Just updated the recipe card. Thanks for pointing out that was missing!
Barbara Parland says
These were so tasty and easy to make. Rebecca spends alot of time on her recipes and notes and it shows! I used oat sweetened condensed milk because I was too far in the recipe when I realized I didn't have the regular stuff. They still turned out quite tasty but very messy as the fudge didn't quite set. Rebecca's notes have the warning for a reason!
Also, greased parchment paper worked for me to lift them out of the pan! Make sure you leave yourself some overhang if you try this.
Great recipe Rebecca! Thanks for the trouble shooting behind the scenes ❤️
Rebecca Eisenberg says
So glad you enjoyed them even with the sweetened condensed milk mixup. As long as they still taste great that’s what matters! 🙌🙌