
This post will teach you how to make the absolute best mini honey butter biscuits. This detailed guide is full of tips and tricks and how-to photos to help you successfully make these tender and flaky mini buttermilk biscuits at home.
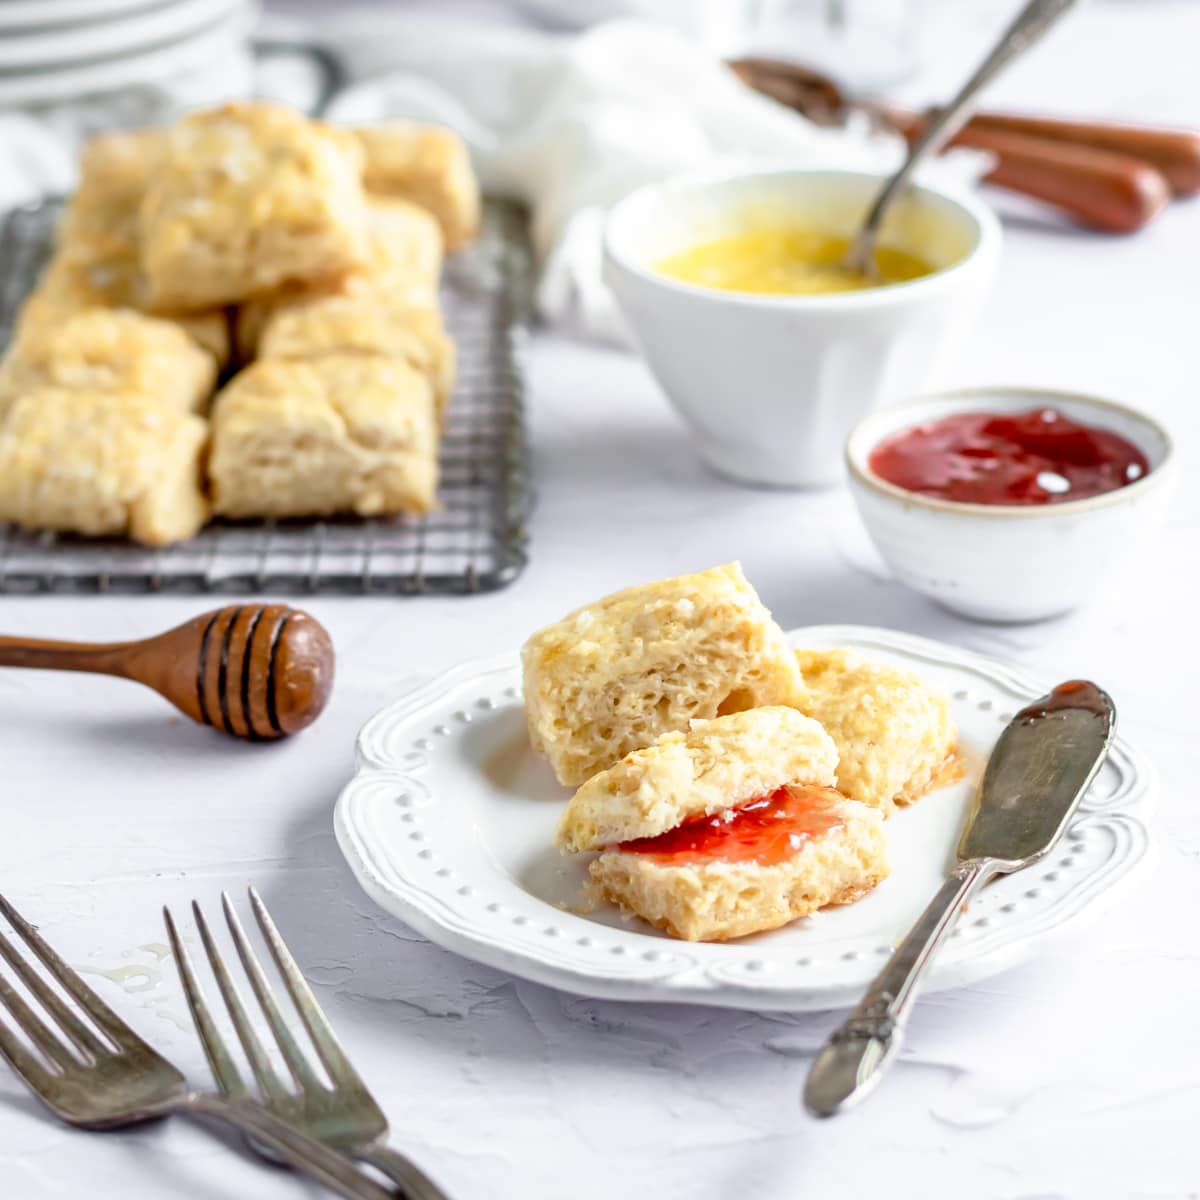
This recipe makes 18 mini biscuits, which are so good topped with a pat of butter and a bit of fruit jam, like my spiced cranberry jam or my homemade whipped honey butter.
Need more brunch baking inspiration? Check out my recipes for homemade biscuits, scones and loaves!

Ingredient Notes
Here's what ingredients you'll need to make these mini biscuits. Nothing too fancy, though I do recommend getting high-quality ingredients for best results.

Pastry flour - I use King Arthur Baking's pastry flour blend to make these biscuits. Pastry flour has a lower gluten content than all-purpose flour creating baked goods that are more tender with a melt-in-your-mouth texture, ideal for biscuits like these!
Baking powder - A little bit of baking powder plus the steam from the chilled butter helps your biscuits rise in the oven. Baking powder is only good for about 6 months so make sure yours is fresh!
Buttermilk - I've made these homemade buttermilk biscuits with both homemade buttermilk (and homemade butter) and store-bought cultured buttermilk and didn't notice too much of a difference between them! Keep buttermilk chilled until ready to use.
Note: To keep things simple, I'm having you make the honey butter with 1 stick (½ cup; 8 TBSP) butter. You'll use it two different ways in the recipe, and might end up with some honey butter left over, which you can spread on the biscuits!

These Mini Biscuits Use a Compound Honey Butter
Most honey butter biscuits are plain buttermilk biscuits topped with melted honey butter. But as a recipe developer, I'm always looking for new ways to introduce more flavor to my bakes, so my mini honey butter buttermilk biscuits are made with honey butter in the dough and drizzled with even more honey butter while they're baking for maximum honey butter vibes. (Have I said "honey butter" enough yet?)
When the chilled honey butter turns to steam in the oven, it pushes the biscuit layers apart, leaving the honey sandwiched between them. This gives the biscuits honey butter flavor from top to bottom.
When it comes to making the honey butter, honey and butter are kind of like oil and water — they don’t really want to combine. So you'll definitely want to use an electric mixer.


Wrap the disc of butter tightly in the plastic wrap and chill it in the fridge until ready to use, at least one hour, but overnight is ideal.
When you're ready to make your mini buttermilk biscuits with honey butter, cut the butter into cubes about ½" inch in size, and place them in the freezer for at least 5 minutes. Refrigerate the remaining honey butter; you'll use it later.
Making Homemade Buttermilk Biscuits
Making biscuits is a fast process once you've got everything prepped! You always want very cold butter and buttermilk for biscuit making, so make sure the buttermilk is cold from the fridge, and the honey butter cubes get their 5 minutes in the freezer.
The standard biscuit making process:
- Mix the dry ingredients. Whisk the pastry flour, salt, and baking powder together in a mixing bowl so they're evenly distributed.
- Pinch in the butter. Use your fingers and thumbs to pinch the cold honey butter into the dry ingredients until you have lots of flat pieces.
- Add the cold buttermilk. Use a spatula or your fingers to toss the mixture together just until all the buttermilk is absorbed.
- Laminate and cut. Pat the dough into a square, cut it into quarters, stack them on top of each other, and flatten into a square again. Repeat, finishing by pressing the dough into a rectangle. Then cut the biscuits.
- Egg wash and bake. Brush with egg wash and sprinkle with flaky salt. About 10 minutes into baking, spoon melted honey butter over the biscuits, then bake for an additional 2-3 minutes.
Don't be intimidated by this; the whole process actually only takes about 3-5 minutes!

The reason it's so important to keep the butter and buttermilk for our biscuit dough as cold as possible and to not to over-mix the dough is so you get nice, light, and flaky biscuits.
The cold butter turns into steam in the oven and pushes the layers of dough apart creating those light flaky biscuit layers. If the butter is too warm, or the dough gets overworked, the butter will melt right out of the biscuits in the oven.
How I Make Flaky Biscuits - Work Quickly to Pinch and Flatten the Butter
First, toss the honey butter cubes in the flour, then begin pinching them to flatten them into large shards coated with flour. As you keep pinching the shards will get smaller. The butter will warm up from the heat of your hands, so you need to work quickly.
![[gif] pinching butter into flour](https://thepracticalkitchen.com/wp-content/uploads/2021/09/mini-honey-butter-biscuits-7759.jpg)
![[gif] showing pea-sized butter flakes in dry ingredients](https://thepracticalkitchen.com/wp-content/uploads/2021/09/mini-honey-butter-biscuits-7765.jpg)
Once the butter pieces are about the size of dimes and nickels and the mixture looks like damp, clumpy sand, it's time to add the cold buttermilk.
Stir the buttermilk into the dry ingredients gently just until everything is mostly combined. It’s okay — ideal, even! — if there are still lots of dry bits or visible butter chunks in the bowl.

As long as the buttermilk has mostly been absorbed and you can't see any pooling in the bottom of the bowl, STOP MIXING. Overmixing leads to tough, dense biscuits. You don't want that!
Knead, Smush, Shape, and Cut
Turn the whole damp mess of flour and butter out onto a clean, lightly floured surface. Dust some flour over the top, too.
Cut a cross hatch pattern across the mess of dough to cut through the butter and redistribute the moisture from the buttermilk. Gather the dough together on your counter.

Pat the dough into a square about ½" thick. Dust in more flour if needed.

Use a bench scraper to cut the square into four equal quadrants.

Stack the four quarters of biscuit dough on top of each other in a tall tower.

Flatten the tower down. Shape it back into a square about ½" thick and repeat.
Each time you stack and flatten the dough you're building in a new set of horizontal flakes of butter sandwiched between the dough. This gives you extra-tall mini buttermilk biscuits.
The dough will become smoother, less crumbly, and easier to work with each time you repeat this process.
TIP: If the butter in the dough seems like it has warmed up or is starting to feel sticky, put it on a parchment lined sheet pan in the freezer for 10-15 minutes before cutting the mini biscuits.

Trim the edges off and pat them on top of the dough rectangle.

Then cut the rectangle into 18 mini biscuits.
TIP: Always move your bench scraper in an up-and-down motion when cutting biscuits. If you drag or slide it along the counter, you'll smush the edges of the biscuits together, ruining all the layers you worked so hard to create.
Pop the sheet pan of biscuits in the freezer for 20 minutes while the oven preheats so the butter has time to chill again before it goes in the oven.

Before baking, brush just the tops of the biscuits with egg wash. If the egg wash gets on the sides of the biscuits it will glue the layers together so try to avoid any drips if you can.
Then top each mini buttermilk biscuit with a sprinkle of flaky salt.

Amazon Basics Stainless Steel Bench Scraper
Dimensions: 6.1 x 4.33 inches. Dishwasher safe stainless steel blade with contoured handle.
Baking and Glazing
These mini buttermilk biscuits bake for 13-15 minutes at 400°F. But you're going to pull the biscuits out a bit early for a final dramatic flourish of honey butter.
After 10 minutes in the oven, remove the biscuits and spoon melted honey butter over the tops, then pop them back in the oven so the honey in the butter caramelizes.

This gives you really nicely browned mini buttermilk biscuits with great honey flavor — but makes them much less sticky than if you were to spoon honey butter over them after baking.
Ta-dah! Flaky, tall mini honey butter biscuits with golden brown tops and a stack of flaky layers visible down the sides.

Making Big(ger) Honey Butter Biscuits
To make bigger (or regular-sized) honey butter biscuits, double the recipe. Pat the dough into a square about an inch to an inch-and-a-half thick, then cut it into a 2x2 or 3x3 grid. You'll get 4 or 9 square biscuits.
Bake for 15 minutes at 400°F, then top with melted honey butter and bake for 5-6 minutes more.
Practical Tips & Recipe Notes
- DO NOT OVER MIX your biscuit dough. Once you add the buttermilk you just want to fold and stir it gently until no liquid remains. The flour will continue absorbing the buttermilk as you work through the lamination process. At first it might not seem like it will hold together, but by the time you do the final stack and flatten, the dough will hold together just fine.
- Biscuits are best eaten day-of, still warm. They can be stored in an airtight container overnight.
- A dough whisk is the best tool to use for mixing the buttermilk into the biscuit dough.
- I use Maldon flaky sea salt to top my biscuits but any flaky finishing salt is fine.
- Do not melt the honey butter in the microwave — use a double boiler on the stove! You don't want to microwave the honey, it can get a bit weird.
- If you don't have buttermilk, you can use buttermilk powder instead. Add 2 teaspoons of buttermilk powder to the dry ingredients and use chilled whole milk instead of buttermilk. I don't recommend using a milk + vinegar/lemon juice buttermilk substitute here as it will throw off the ratio of liquid and dry ingredients, leaving you with very wet and sticky biscuit dough.
- ALL-PURPOSE FLOUR - All-purpose flour can work if you don't have pastry flour. If you're being picky, look for an all-purpose flour with a lower protein content (9-10%). All-purpose flour is better at developing gluten than pastry flour, so be very gentle with your mixing when you add the buttermilk. Stir gently, just until the buttermilk absorbs. Let the flour finish hydrating while you're folding the dough. You don't want to end up with dense biscuits!

💭 Have More Baking Questions?
I've rounded up answers to common baking questions and how-to guides, including:
- Ingredient swaps and FAQs
- Why my recipes are written in grams and not cups
- How to quickly bring eggs and butter to room temperature
- Ingredients I use (salt, flour, yeast, etc.)
- Step-by-step guides for bread and baking techniques
See my baking techniques & troubleshooting guide and ingredient swaps and FAQs for more!
📖 Recipe

Flaky and Tender Mini Honey Butter Biscuits
Recipe Notes
- To use buttermilk powder instead of buttermilk, add 2 teaspoons of buttermilk powder to the dry ingredients and use chilled whole milk instead of buttermilk.
- I don't recommend using a milk + vinegar/lemon juice buttermilk substitute here as it will throw off the ratio of liquid and dry ingredients, leaving you with very wet and sticky biscuit dough.
- DO NOT OVER MIX biscuit dough. Once you add the buttermilk stir and fold gently just until no liquid remains. The flour will continue absorbing the buttermilk as you work through the stacking and smushing process. At first it might not seem like it will hold together, but by the time you do the final stack and flatten, the dough will hold together just fine.
- To make bigger (or regular-sized) honey butter biscuits, double the recipe. Pat the dough into a square about an inch to an inch-and-a-half thick, then cut it into a 2x2 or 3x3 grid. You'll get 4 or 9 square biscuits. Bake for 15 minutes at 400°F, then top with melted honey butter and bake for 5-6 minutes more.
- ALL-PURPOSE FLOUR: All-purpose flour can work if you don't have pastry flour. If you're being picky, look for an all-purpose flour with a lower protein content (9-10%). All-purpose flour is better at developing gluten than pastry flour, so be very gentle with your mixing when you add the buttermilk. Stir gently, just until the buttermilk absorbs. Let the flour finish hydrating while you're folding the dough. You don't want to end up with dense biscuits!
- Biscuits are best eaten day-of, still warm. They can be stored in an airtight container overnight.
Ingredients
Honey Butter
- 113 grams unsalted butter (1 stick / 8 TBSP)
- 38 grams honey
Honey Butter Biscuits
- 60 grams honey butter (chilled)
- 110 grams buttermilk (chilled)
- 171 grams pastry flour
- 2¼ teaspoons baking powder
- 1 teaspoon diamond crystal kosher salt (use half as much of any other brand)
- 1 egg (whisked well, for egg wash)
- 1½ teaspoons flaky sea salt (for topping)
- 60 grams honey butter (melted)
Instructions
Make honey butter
- In a larger bowl than you think you'll need, use a hand mixer to combine softened butter and honey until cohesive.
- Wrap tightly in plastic wrap and chill in the fridge until firm and cold throughout, at least 2 hours or overnight.
Make biscuits
- Measure 60 grams of chilled honey butter and cut into roughly 1" pieces. Place in the freezer while you mix the dry ingredients (5 minutes).
- Combine pastry flour, salt, and baking powder in a medium sized bowl.
- Add chilled honey butter and toss it with the flour mixture, pinching and smushing it between your fingers until the butter pieces are the size of large peas or small grapes.
- Fold in the cold buttermilk, stirring gently just until the buttermilk is absorbed. The mixture will be clumpy and might have lots of dry floury bits, but that's okay. Do not overmix!
- Turn the mixture out onto a lightly floured counter or cutting board. Gather it into a pile in the center and use a bench scraper to cut a cross hatch pattern through it. Then use your hand and the straight edge of the bench scraper to form a square about ½" thick. Work quickly so the butter doesn't start to melt.
- Cut the square into quarters and stack them on top of each other. Press down with your hand to flatten the dough back into a square ½" thick. Repeat the cutting and stacking process two more times.
- Pat the dough out into a long rectangle about 6 inches across and 1 inch thick. Trim the edges to release any tension on the dough. Pat the excess dough down on top of the rectangle.
- Cut the dough rectangle into 18 mini biscuits — a 3 by 6 grid. Move the bench scraper in an up and down motion, do not slice or slide the blade along on the counter.
- Transfer biscuits to a lined baking sheet about 2" apart. Place the sheet pan in the freezer for 20 minutes while the oven preheats.
- Preheat oven to 400°F.
- Brush just the tops of the biscuits with egg wash and sprinkle with flaky sea salt. Try not to get egg wash on the sides of the biscuits, or it will glue the layers together.
- Bake for 13-15 minutes at 400°F. After 10 minutes, spoon melted honey butter over the biscuits and return to the oven for an additional 3-5 minutes. Best served warm.
Comments
No Comments