
I'm so excited to be sharing my exclusive recipe for small-batch bagels from my cookbook Small Batch Breads: 50 Recipes for Loaves, Buns, and Flatbreads Made with One Cup of Flour. This is such a good beginner-friendly bagel recipe because it's quick, uses easy-to-find ingredients like all-purpose flour and instant yeast, and makes just two bagels.
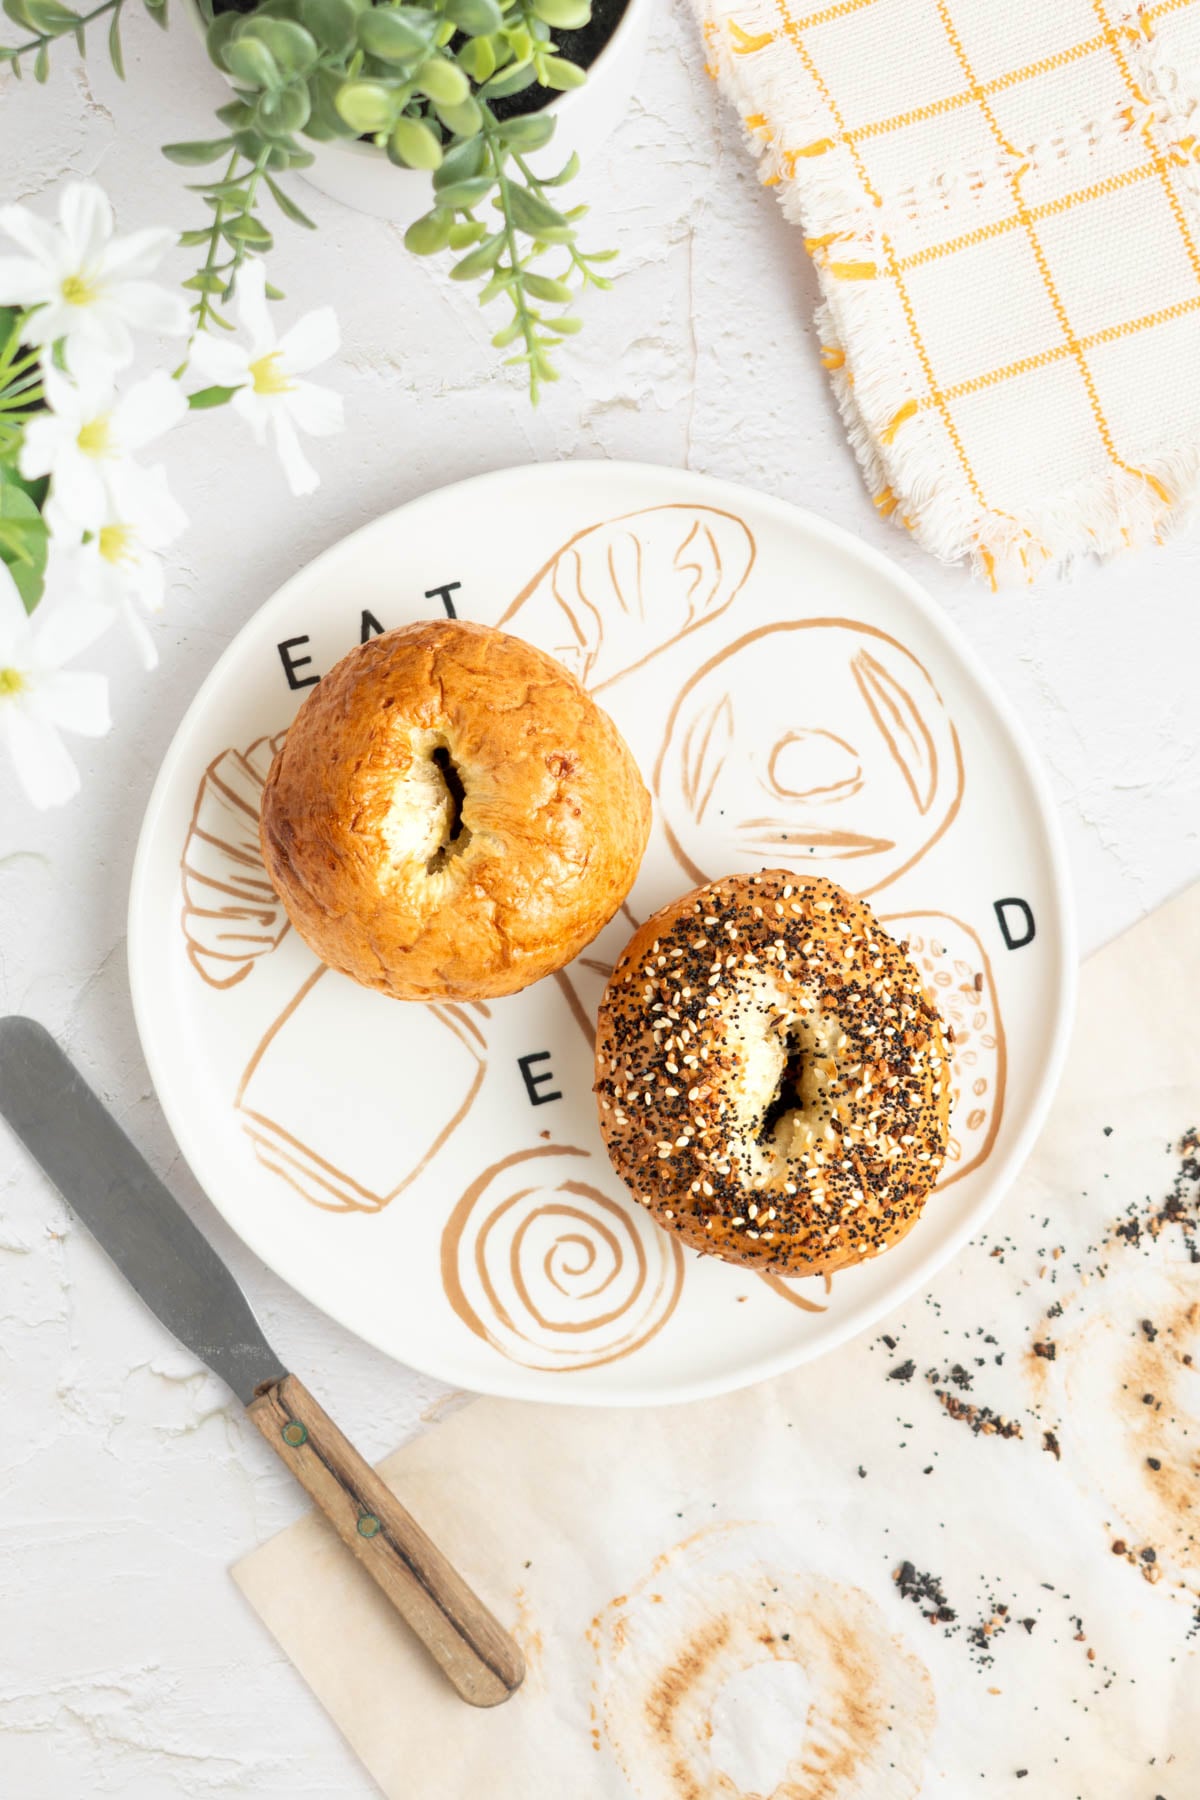
When I started working on my book proposal for Small Batch Breads, I knew bagels had to be part of it. This bagel recipe actually appeared in the writing sample of the proposal I submitted to publishers when I was pitching it. Bagels were my personal gateway into making bread from scratch and remain one of my all-time favorite things to bake. There had to be room for them in the book.
People are so scared to try making bagels from scratch, but once you give my easy small-batch bagel recipe a try, I just know you'll be feeling confident enough to try my other full-size easy homemade bagel recipes, too!
If you want to scale this recipe up to make more bagels, I recommend using one of my regular bagel recipes, which I have already done the math on to scale up the amount of yeast to an appropriate proportion for the larger amount of flour!

While bagels are traditionally made from a high gluten/high protein flour like bread flour, I find all-purpose flour works just fine for this simple recipe, especially if you're new to making bagels.
Since my small-batch bagel recipe only uses one cup (120g) of flour, I don't think it's worth buying a bag of specialty flour unless you have other uses for it.
Kneading Bagel Dough by Hand
This small batch bagel dough is one of the easiest doughs to make by hand, imo. Bagel dough is not too sticky or wet, it's very fun to handle. I usually start by mixing the dough with a dough whisk until the water is absorbed and it starts to form some large clumps in the bowl.
Then I switch to a bowl scraper to fold the dough over itself in the bowl to get all the dry bits incorporated into one mass of dough before I turn it out onto the counter to knead.
The dough will seem quite dry at first, but as you knead, the flour will continue absorbing water.
You can check out my video at the end of the recipe card to see how I knead the dough by hand, but it's basically rocking and folding the dough over itself until it's smooth and slightly tacky to the touch. If the dough seems sticky or is clinging to you/your hands/the counter, dust in flour as you work.
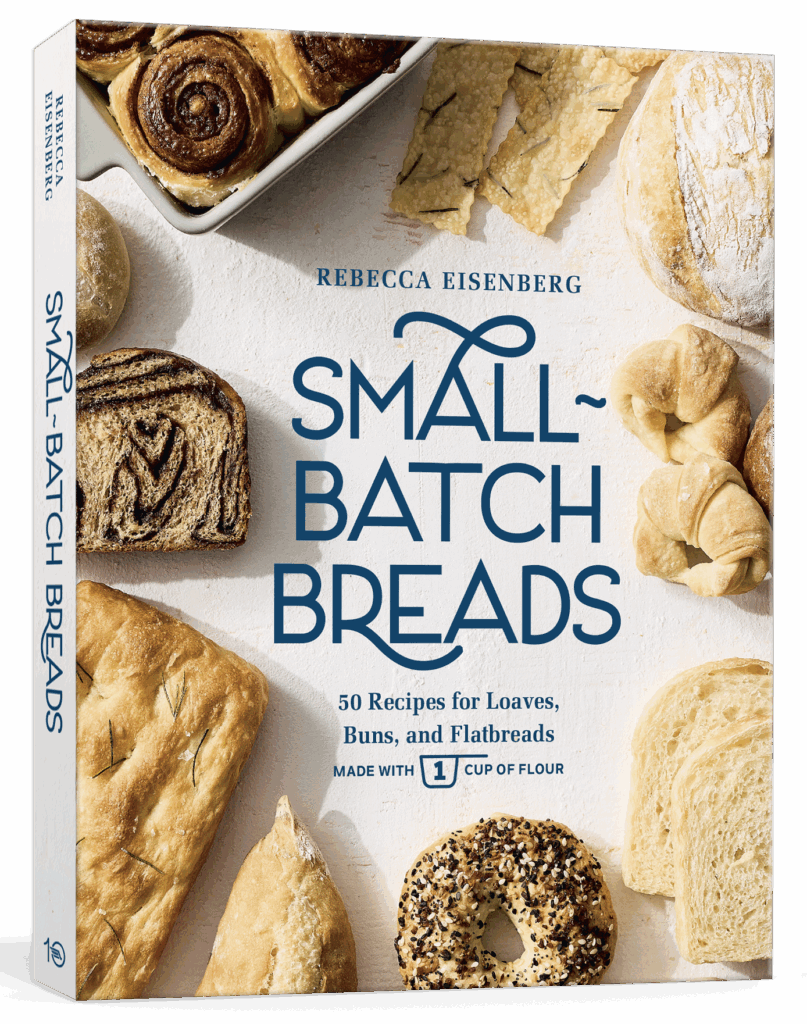
Want more small-batch recipes?
My Small Batch Breads cookbook is now available for pre-order!
Featuring fifty easy-to-follow bread recipes made using 1 cup of flour.
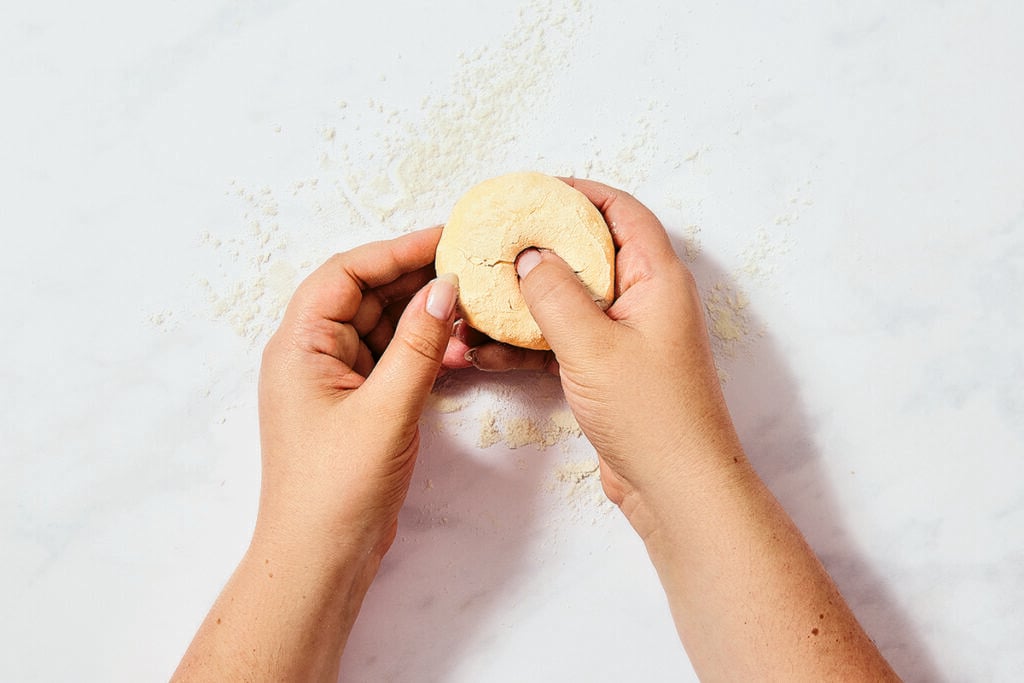
Shaping Small Batch Bagels
When it comes to shaping these two bagels, divide the dough in half and tuck each half into a tight ball with a seam on the bottom and a smooth top. If you need to combine a few pieces of dough to make two equal portions, stack the smaller pieces on top of the biggest piece so they end up tucked inside.
Always do this step on an unfloured surface so the dough can stick to itself! The only time to add flour when you're shaping bagels is when you're poking the hole through the bottom. That's when you don't want the dough to stick to itself.
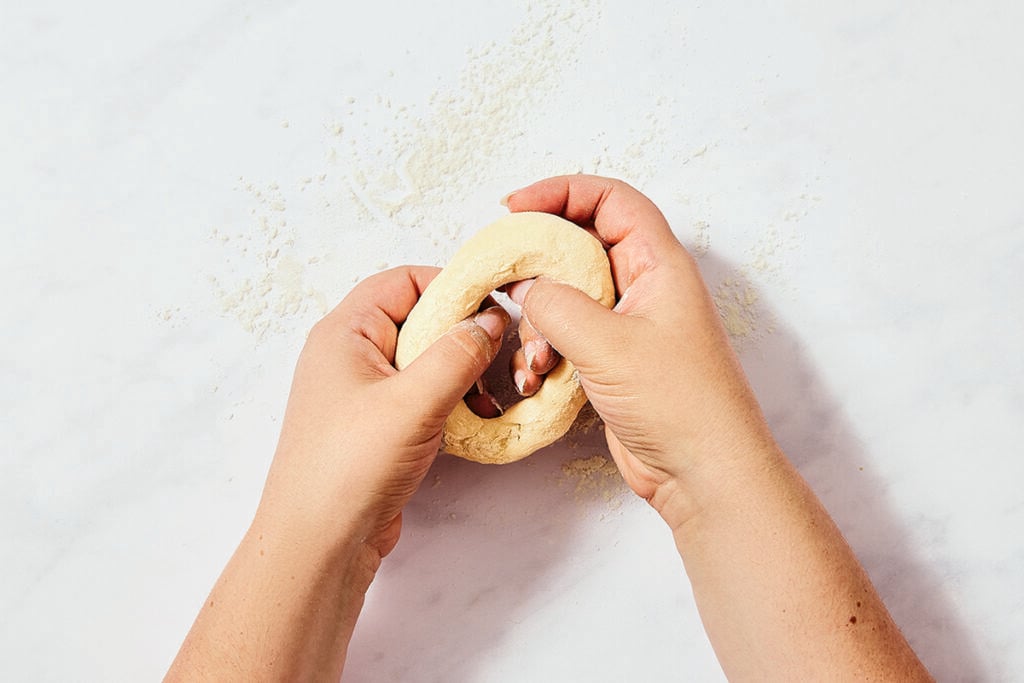
I quickly repeat the stretching process right before boiling the bagels to keep the hole from closing up in the oven.
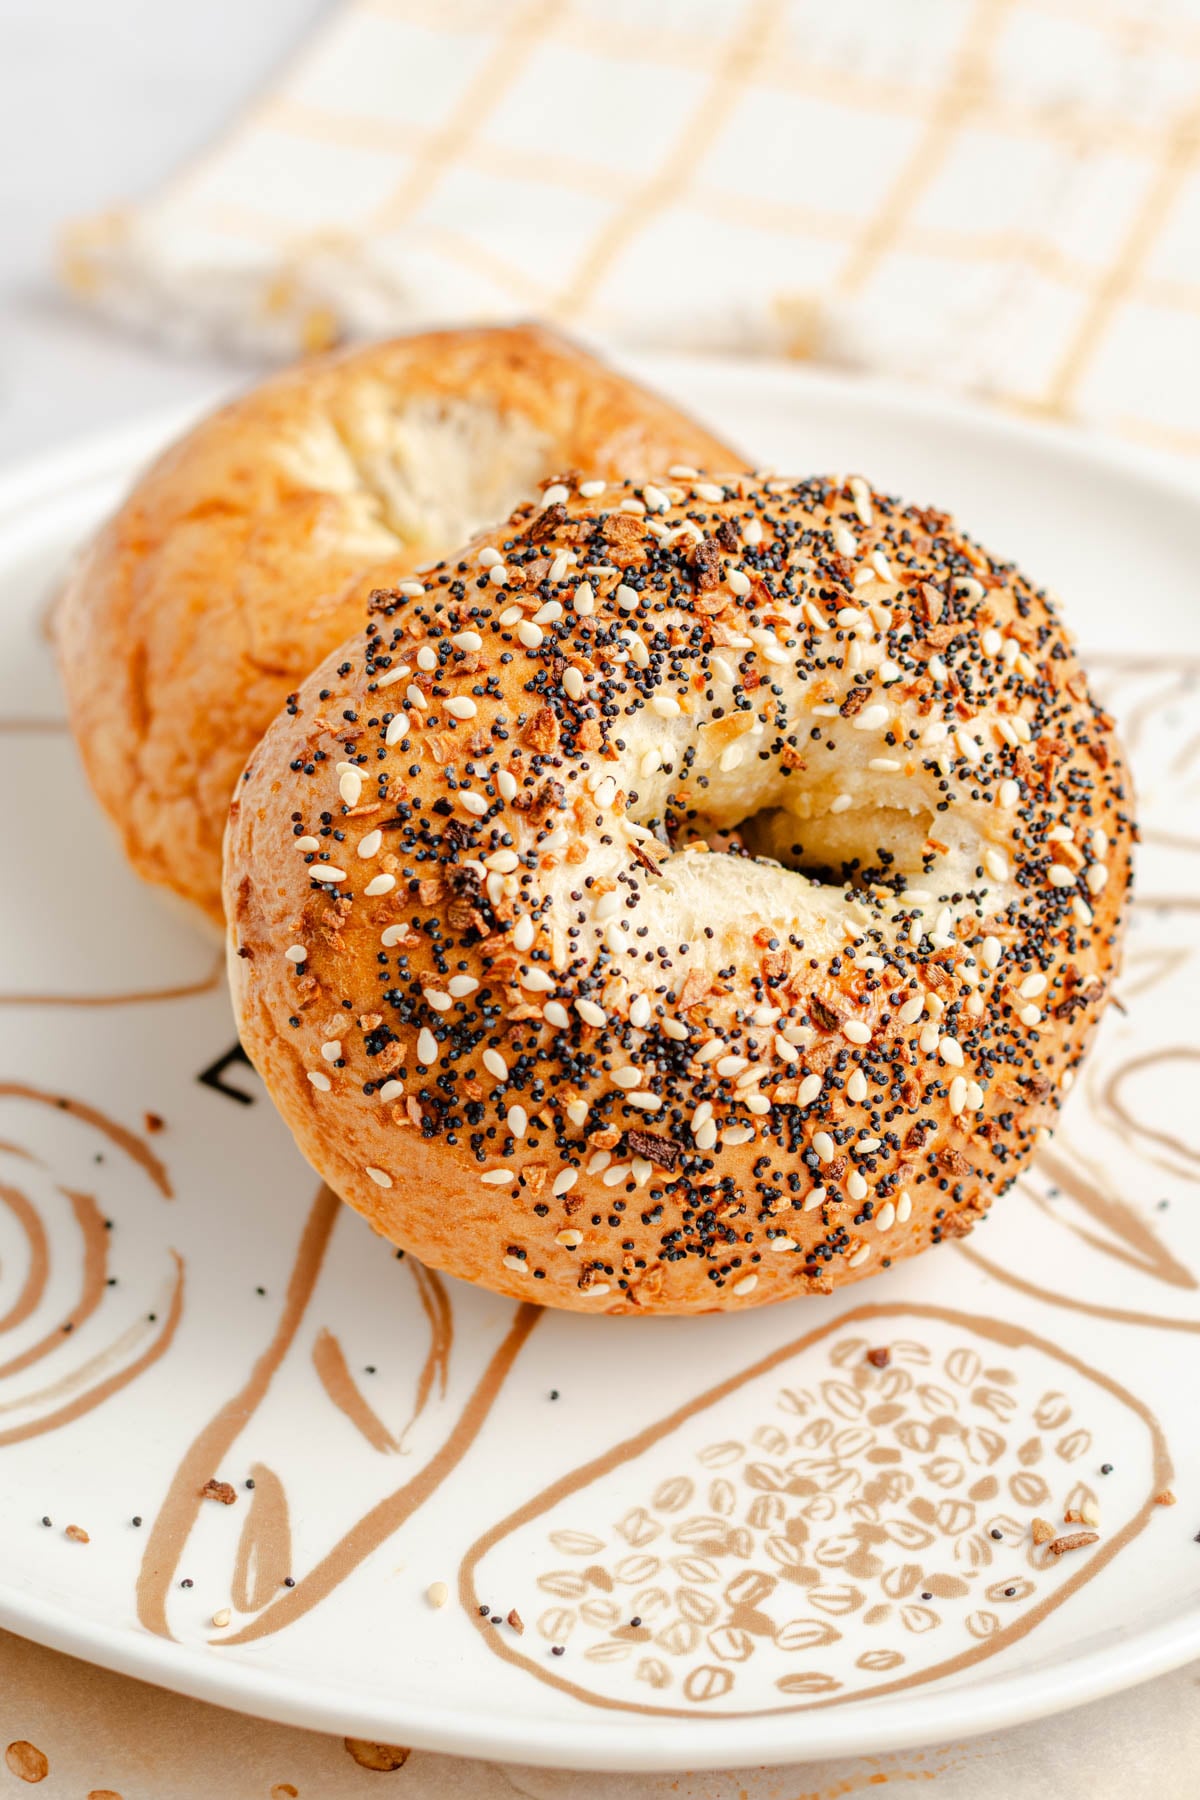
If They're Not Boiled, They're Not Bagels!
Since this small batch recipe makes just two bagels, you can boil them one at a time in a smaller pot or both at once in a wider pot. I usually use a 3-qt high-sided sauté pan and boil both bagels at the same time. But pretty much any pot you can fill with at least 2-3" of water so the bagels float without touching the bottom is just fine.
Boiling is a crucial step in the bagel-making process. The hot water gelatinizes the starches in the crust, setting them in place. It also gets the yeast moving, so the bagels begin expanding. The combination of the two—the yeast activity and the gelatinized crust—prevents the bagels from expanding too much in the oven.

💭 Have More Bagel Questions?
I've rounded up answers to common bagel questions and how-to guides, including:
- How to knead bagel dough by hand and what it should feel like
- Why bagels are always boiled
- Step-by-step guides for bagel shaping and baking techniques
See my bagel-making 101 guide for more!
📖 Recipe

Small Batch Bagels Recipe (Makes Just 2 Bagels!)
Recipe Notes
- If you are measuring with cups, it is super important that you measure the ingredients properly. See my guide to measuring as accurately as possible by volume for how to do this. If you measure with cups/teaspoons and the recipe did not turn out right, that is likely why. Try again!
- If you want to use bread flour, you'll need to add a bit more water to the dough, since bread flour is more absorbent than all-purpose flour. Add it gradually, about ¼ teaspoon at a time, so you don't accidentally add too much.
- The egg is there for an egg wash; it gives the bagels a shiny crust and helps the toppings stick. You can absolutely make these homemade bagels without egg if you prefer.
- One of the biggest mistakes you can make with bagel dough is not kneading it long enough, so I do recommend setting a timer to keep yourself honest.
Ingredients
- 120 grams all-purpose flour (1 cup, loosely scooped and leveled)
- 4 grams sugar (1 teaspoon)
- 3 grams diamond crystal kosher salt (1 teaspoon; use half as much of any other brand of salt)
- 1 gram instant yeast (heaping ¼ teaspoon)
- 72 grams water (¼ cup + 2¼ teaspoons, 90°F)
- 1 large egg (beaten well, for the egg wash)
- 2 tablespoons bagel toppings (optional)
Instructions
- Mix. In a medium bowl, whisk together the dry ingredients. Make a well in the center and add the warm water. Use a dough whisk or a fork to mix until the water is incorporated and the dough comes together in one shaggy mass, then switch to a bowl scraper or your hand and fold the dough over itself just until it comes together. There might be a few dry bits left in the bowl and that’s okay.
- Knead. On a lightly floured surface, knead the dough until smooth and slightly tacky to the touch, 5 to 6 minutes. Lightly dust with flour only as needed, just to prevent sticking.
- First rise. Lightly grease the bowl with cooking spray. Shape the dough into a ball, return it to the greased bowl, cover, and let it rest somewhere warm until it doubles in size and passes the Fingerprint Test (page 20), 1 to 1½ hours.
- Preheat. Toward the end of the rise time, line a sheet pan with parchment paper and preheat the oven to 425°F. Fill a wide medium pot with at least 2 inches of water and bring to a low boil.
- Shape. While the water comes to a boil, divide the dough in half using a bench scraper (each half should weigh about 100 grams). Shape each half into a tight ball with a pinched-together seam underneath. Push your thumb gently through the pinched-together seam at the bottom of the dough ball. (This pushes all those edges together and gives the bagel a cleaner, neater look.) Gently insert your other thumb and begin squeezing and stretching as you rotate the bagel in your hands to gradually widen the hole until it’s about 2 inches across.
- Second rise. Place the bagels on the prepared sheet pan, cover with a damp paper towel, and let them rest for 10 minutes.
- Boil. Give each bagel a quick final stretch following the same technique from photo 2 (to prevent the holes from closing up). Place the bagels in the water, top-side down. Boil for 1 minute, then use a spider skimmer to flip them and boil for 1 minute more. Use the spider skimmer to remove the bagels from the pot and slide them back onto the parchment-lined sheet pan.
- Bake. Brush the bagels lightly with the egg wash and sprinkle with any desired toppings. Bake until golden brown and shiny on top, 18 to 20 minutes. Transfer to a wire rack and let cool slightly before eating.
Comments
No Comments